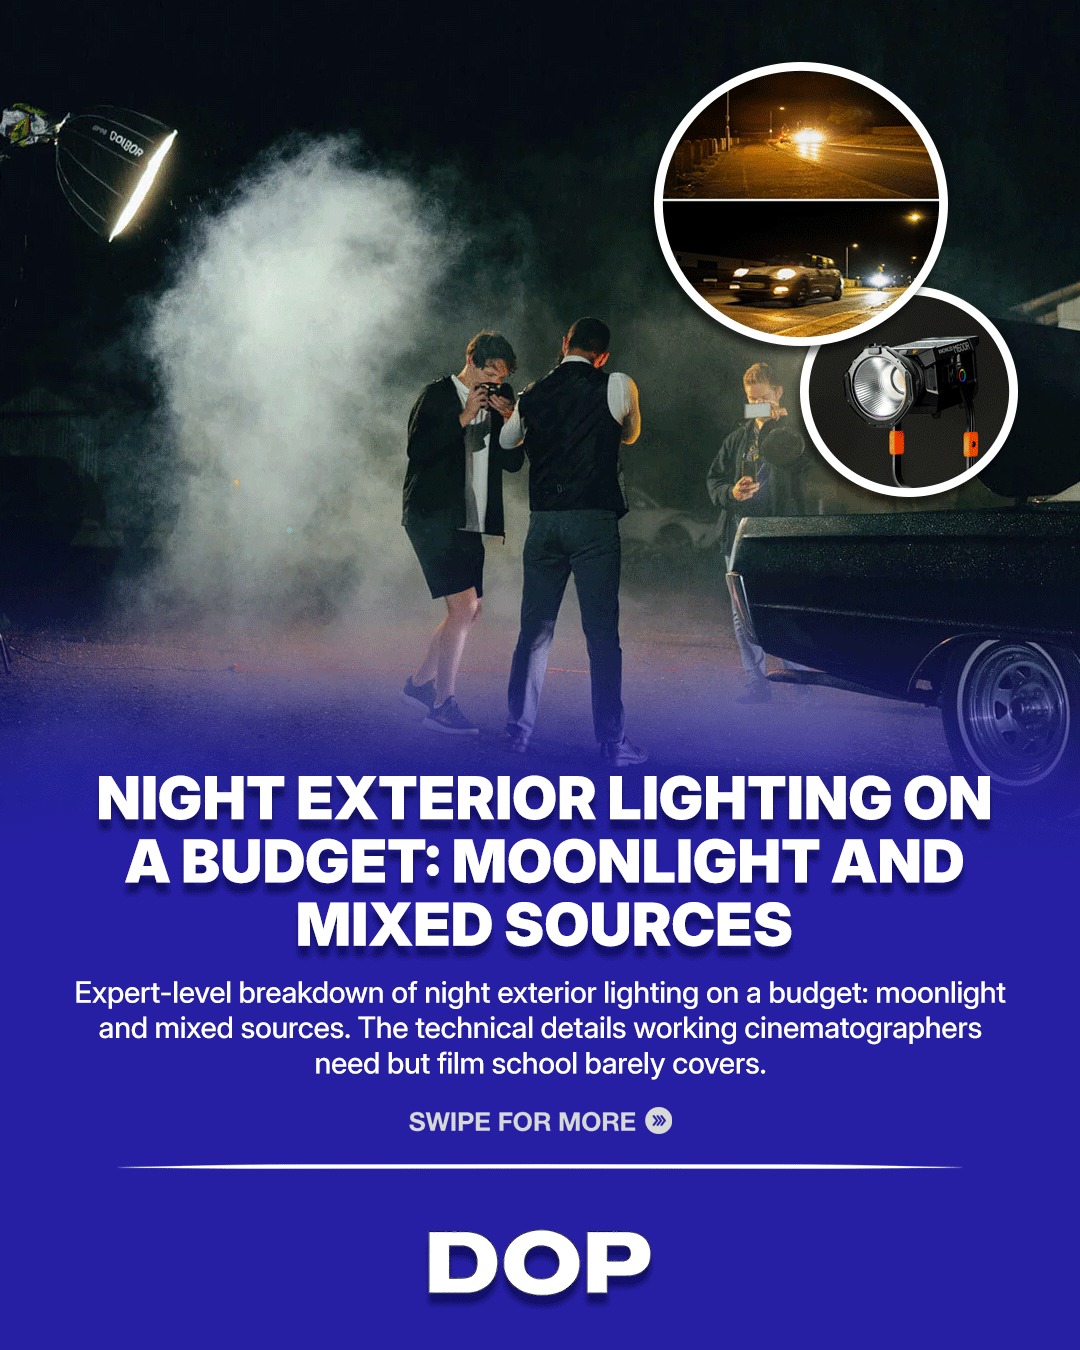
In the realm of cinematography, few lighting challenges are as universally encountered, or as frequently mishandled, as the recreation of moonlight. The Instagram caption, concise yet insightful, distills a fundamental truth: achieving a convincing moonlit aesthetic doesn't always necessitate an arsenal of expensive equipment. It's about understanding the physics of light, then creatively mimicking its natural behavior. For cinematographers, this means dissecting the core characteristics of moonlight, its color temperature, directionality, and the quality of its shadows, and then employing practical, often cost-effective, methods to bring that ethereal glow to the screen.
Moonlight, by its very nature, is a highly directional light source. Originating from a single, distant point (the sun, reflected by the moon), it casts distinct, hard-edged shadows. The caption rightly points out its cool color temperature, typically hovering around 5600K, and its steep angle. This combination is crucial. Many novice attempts at night exteriors fall flat because they diffuse the light too much, or bring it in too low, resulting in a soft, ambient glow that feels more like an overcast day than a crisp, moonlit night. The key is to embrace the hard light, allowing it to sculpt faces and environments with stark contrast and defining shadows.
The Power of a Single HMI PAR
The suggestion of using a single HMI PAR from a condor at 80 to 100 feet is a stroke of practical genius. An HMI (Hydrargyrum Medium-arc Iodide) lamp is a daylight-balanced source, perfectly aligning with the 5600K color temperature of moonlight. The PAR (Parabolic Aluminized Reflector) fixture, known for its punchy, focused beam, mimics the sun's distant, collimated rays. Elevating it on a condor achieves the steep angle necessary to simulate the moon's high position in the sky. This setup, while still requiring careful planning and safety protocols, is significantly more agile and often more budget-friendly than mobilizing a large crane package, which might be overkill for many scenarios.
“The most convincing moonlight isn't about brightness; it's about contrast and the absence of light where it shouldn't be.”
The beauty of this approach lies in its efficiency. Instead of trying to flood an entire scene with light, the HMI PAR strategically carves out key areas, allowing the rest of the frame to fall into deep shadow. This creates a sense of depth and mystery, characteristic of true moonlight. Think of Roger Deakins' work in films like *Prisoners* or *No Country for Old Men*, his night exteriors often rely on stark contrasts, using minimal sources to define the space and mood, letting shadows tell as much of the story as the illuminated areas.
The Unsung Hero: Negative Fill
Perhaps the most profound insight in the caption, and one often overlooked, is the power of negative fill. “Negative fill with black solids costs nothing and separates subjects from the background more effectively than adding another unit.” This isn't just a cost-saving measure; it's a fundamental principle of light shaping. When you’re trying to create a high-contrast, directional look, adding more light can often work against you, lifting shadows and flattening the image. Negative fill, typically black flags, solids, or duvetyne, absorbs ambient light, deepening shadows and increasing contrast. It effectively ‘subtracts’ light, pushing elements into darkness and enhancing the separation of your subject from the background.
Consider a close-up against a moonlit backdrop. Without negative fill on the unlit side of the subject, ambient light might bounce back, diminishing the dramatic effect of the key light. By strategically placing a black solid, you can ensure that the shadows are truly dark, creating a more pronounced sense of volume and dimension. This technique is particularly vital when working with digital sensors, which often have excellent low-light capabilities but can sometimes produce 'milky' blacks if not properly controlled. Negative fill helps achieve those rich, inky shadows that lend so much character to a night scene.
The mastery of moonlight, therefore, is not merely about pointing a bright light at a scene. It's a holistic approach that combines precise light placement, appropriate color temperature, and the judicious use of shadow. It's about understanding that the most convincing moonlight isn't about brightness; it's about contrast and the absence of light where it shouldn't be. By embracing hard light, leveraging elevation, and intelligently employing negative fill, cinematographers can conjure the magic of a moonlit night, transforming an ordinary scene into something truly cinematic, all while adhering to practical production realities.
This philosophy resonates deeply with the work of DPs who prioritize naturalism and mood over overt artificiality. Think of the subtle, yet potent, night scenes in Emmanuel Lubezki's *The Revenant*, where available light, augmented minimally, creates an almost painterly quality. Or the way Bradford Young uses carefully sculpted pockets of light in films like *Arrival* to convey emotion and mystery. These masters understand that less is often more, and that the illusion of moonlight is best achieved through a disciplined approach to both illumination and shadow. For aspiring and seasoned DPs alike, the lessons embedded in that simple Instagram caption offer a powerful blueprint for elevating their night cinematography.
This article contains affiliate links. We may earn a small commission at no extra cost to you. Learn more.